Yeah, so you know that easy “repaint the dining room” project I mentioned a few days ago? Well, like any fixer-upper undertaking it tripled in size, turning into “repaint the dining room, twice, strip and sand all of the beadboard, and stain it to match the floor”.
It added about 3.5 million hours to our timeline, but I’m pretty sure the results will be worth it.
We repainted because after bragging about my love for Emberglow, we decided it was too light against the white trim. The apartment we used it in had nice dark woodwork, and that made the orange not so orangish. Against the white, it wasn’t the same. Can you tell we’re SUPER anal about color??
Our second choice was a terra-cotta color called “Decorus Amber” from Sherwin William’s Victorian Palette. It is more subdued, and goes very well with the kitchen’s green tone. We’re both really happy with it – a glorified is a miracle.
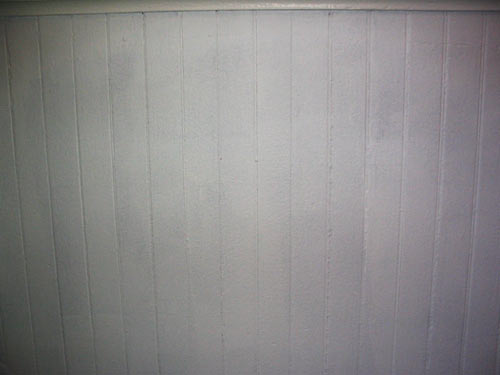
We decided to strip the beadboard after priming – which means we actually ADDED a layer of paint before taking it all off. Yes, this is dumb. We thought we were going to paint it bone china to match our trim, but didn’t like the look of the vast non-colorness. It really takes focus away from the beauty of the beadboard. So here it is, after priming and before stripping:

Stripping the beadboard (which runs about 1/2 way up the wall) is intense. It’s taking a long time, creating a huge mess, and making my arms feel like jello. I did feel better about the whole thing when we found that the original finish was a nice mahogany shellac – very close to what we’re planning for it. That’s a sign, right?!
We’ve used virtually every stripping technique we know of to get it all clean and ready to go before tomorrow (when we start sanding the floors in there). Our process, thus far:
STEP ONE:

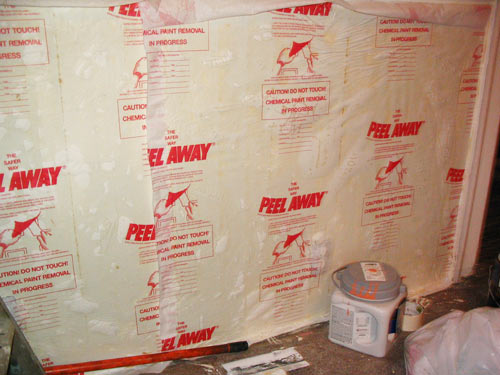
Apply a nice thick coating of a chemical stripper called PeelAway 1. This stuff is great, but we don’t regularly use it because of the cost and mess involved. We’re in a hurry this time, so my favorite stripping tool – the heat gun – is out.
STEP TWO:

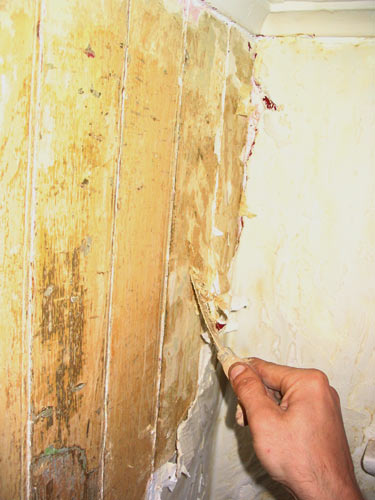
Remove all of the PeelAway, using scrapers to get as much paint-sludge off as possible.
STEP THREE:
Apply a coating of regular chemical stripper (like Strypeeze), let it sit for about 20 minutes, and scrape again. Use a wire brush and scouring pads (specially made for stripping wood) to scrape off little bits. Clean out the the grooves with a screwdriver, being careful not to scratch up the wood. Make a giant mess with all the chemical crap we’re slinging off the walls. Are we having fun yet?
STEP FOUR:

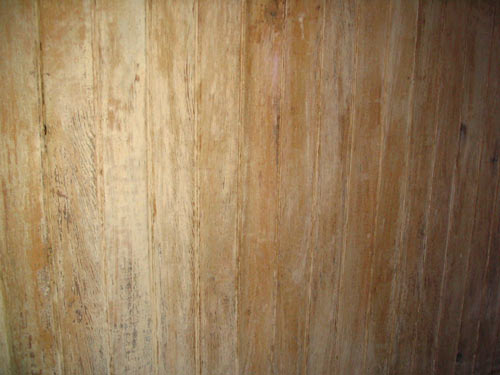
Sand down the surface so it’s nice and smooth ready for stain.r
I’ll be sure to post “after” pictures when we get there. Expect some major updates on Monday, because this weekend we’re refinishing the dining room and living room floors. Yeehaw!


Comments, Thoughts, and Feedback
oh yeah. we are big fans of the peelaway around here. It saved us on the windows.
And we, too, are nuts about color. We reapainted our bedroom 3 times in one weekend once.
Wow- that peelaway looks like it works pretty well. Can’t wait to see the finished room. The new site looks great BTW.
Yes, PeelAway is great stuff when you need to remove many layers on a big surface. If it’s smaller, I prefer the heat gun (just b/c I hate cleaning up PeelAway mess)
Merideth – Thanks, you make us feel a little less crazy. Everyone keeps giving us weird looks but I’m so sensitive to color that I can’t stand to have it be “off” even a little bit. I may have to seek therapy at some point, but for now I’ll stick to repainting to my heart’s content.
Next time you are at your dentist ask for some old dental tools. They are just perfect for cleaning out the detailed wood such as your beadboard after you have applied Strypeeze. Your could just run one of those dental tools right down the beadboard~makes work go faster.
We love to hear from you, dear readers.